94 Mustang Project

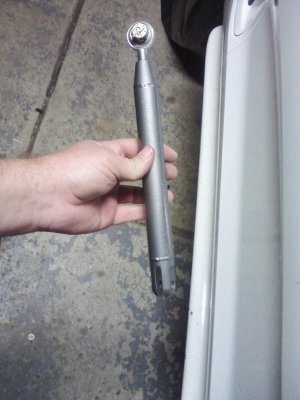
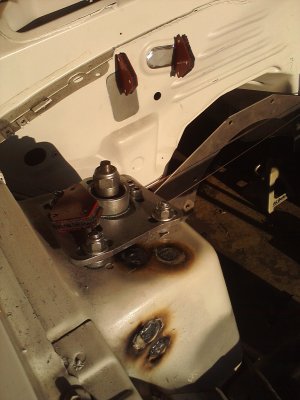
Trans is in and starting mocking up my trans mount. Really nice piece and honestly I think it is priced really well. I Think If I pieced this thing together it would cost me close to what I paid for it.
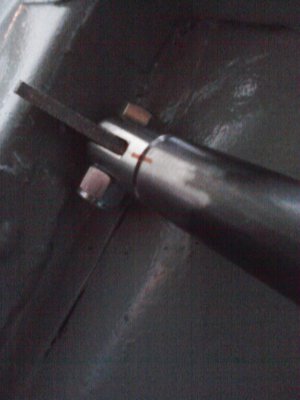
Hoping tomorrow I'll be able to start welding it in. Going to need to take it to work though to cut the bar I can't get a clean cut with a hacksaw lol. I cut off a small piece to practice welding the bracket on. I haven't had to weld round tube yet let alone a flat piece to the edge of a round tube.
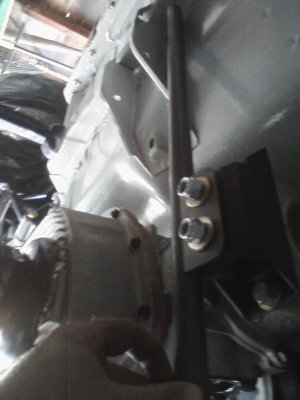
SprintPhoto_bdsh0e.jpg
 
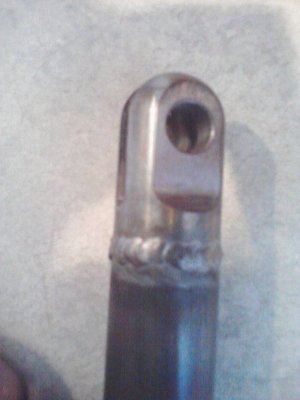
I'm getting much better at the welding thing. Welded one of the clevis pieces on the end of the trans mount. The plan will be to Get the bar length correct with the clevis pieces and tabs and then weld everything together.

SprintPhoto_bdhbwq.jpg
 
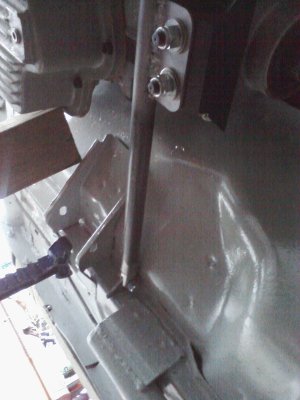
Ok trans mount is finished.

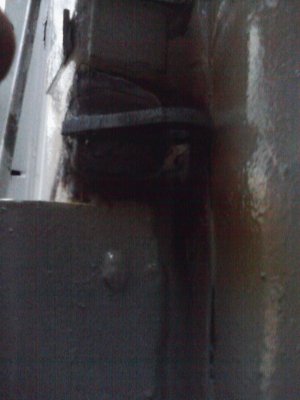
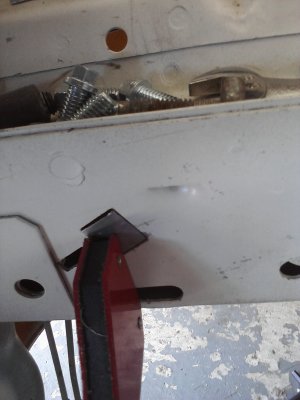
I got the tabs welded to the frame rails.. Welding on your back upside down and being really green at welding isn't a fun task. I managed to get it done though and I think its pretty decent. I hit the tabs with a hammer fairly hard Didn't want to bend them but I had to make sure they wouldn't just fall off lol.

This weekend the engine comes out hopefully and I can start filling holes in the engine bay!.
SprintPhoto_bntq1z.jpgSprintPhoto_bkozdb.jpgSprintPhoto_by3q3z.jpg
 
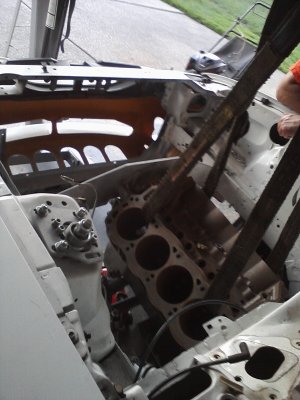
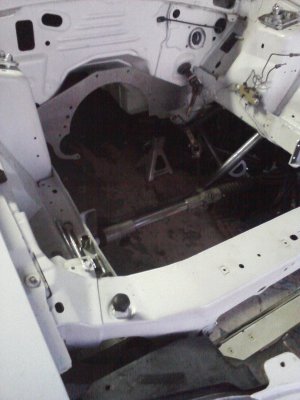
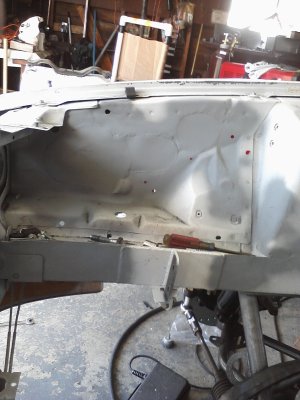
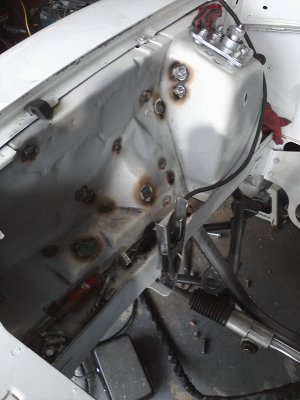
Ok HUGE thanks to standy for letting me barrow his engine hoist. Got the engine and trans pulled today so its now out of my way. Think I got everything I needed mocked up until the engine is closer to being finished. Next is filling holes in the engine bay.

Have to figure out what to buy next though. If I'm going to finish up the interior or get my lexan windows.

SprintPhoto_bddb42.jpgSprintPhoto_bjpj12.jpg
 
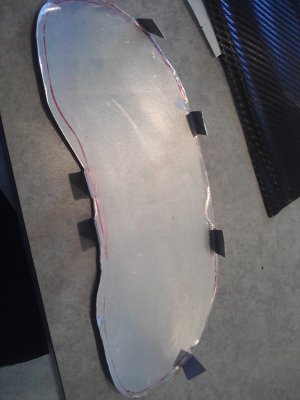
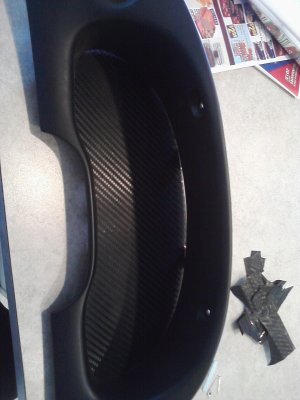
Worked on the dash a bit more today. Finished up the insert I made to replace the stock gauge cluster.

SprintPhoto_bns5pr.jpg


Covered it in some more carbon fiber vinyl and set it behind the insert to see how it looks.
SprintPhoto_bdbwor.jpg

I Just have to cover the glove box hole now and the one near the steering wheel. Steering wheel will have to wait until I get my new column. Tomorrow I'll start making patterns to cover holes in the engine bay.
 
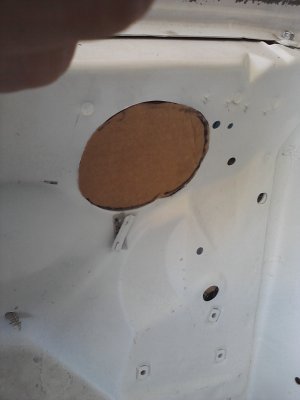
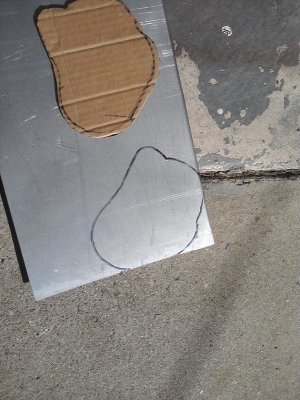
Started making cardboard cutouts for all the patches I'll need.

SprintPhoto_bewsfe.jpg

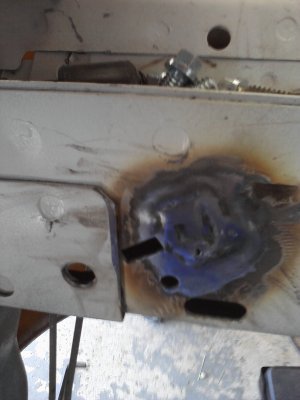
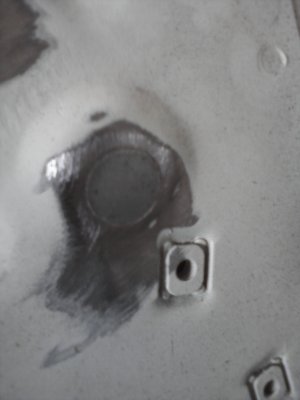
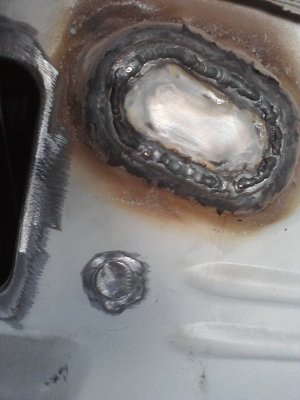
Then I decided to make a few of the small squares to see how welding is going to go. I'm still not very good at welding 2 different thickness of steels together. I didn't make it any easier on myself using .040 thick steel for my patch panels. It won't be to bad on the sheet metal but the thick frame rails isn't making it easy on me.

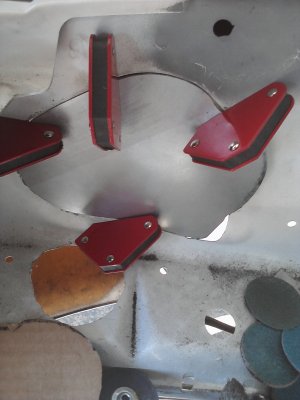
Gave one of the squares a go. these little magnets come in handy. I did sand around it before I welded that was just a pic I snapped while testing the magnet to see if it will work ;)

SprintPhoto_blq4zg.jpg

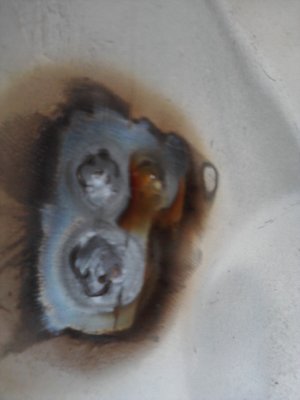
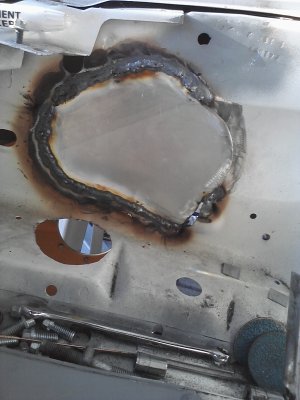
here it is welded in and sanded down a bit. I left a small hole where i burned threw the patch a little. I'll fill it in next patch i put in i ran out of time for today :(.

SprintPhoto_byeoyg.jpg
 
Last edited:
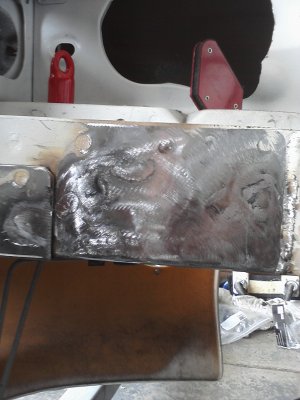
One small part of the frame rail completed... I ran out of argon need to go get the tank filled.

In my mind this sounded like a great idea the actual completion of the task is a pain in the ass. At least it will look nice when its finished. Just a lot of work/time.
SprintPhoto_b2ah0u.jpg
 
Another 3 hrs into the job :D Really is a lot of work but I will slowly chip away at it.

Just for comparison here is the frame rail on the driver side vs the passenger side I've finished. It still isn't filled and smoothed with body filler yet I'll wait until its 100% completed first. Going to do one side of the car the the other just for comparison shots ;)

SprintPhoto_bv3plh.jpgSprintPhoto_bmodph.jpg


Backside of passenger side shock tower. I got most of the small holes at least the ones I can get that aren't flat I need to goto home depot and get a piece of copper I can hammer flat to use for the flat holes. Some of the larger holes I need to make patches for I just need to measure them and then i can use a punch at work they use to make round shims has just about every size ;)

SprintPhoto_bcjtqh.jpg

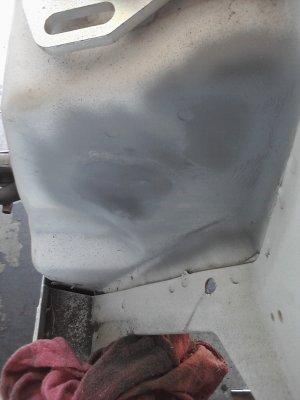
back of the shock tower sanded. Still no body filler just a 90 deg grinder ;)

SprintPhoto_bntqlo.jpg
 
Last update for the day made a pattern for one of the worse holes.

SprintPhoto_btaixq.jpg

Cut out the pattern and fitted it.

SprintPhoto_bqh0cz.jpg

welded in I didnt have time to sand it down yet and I have to get some metal shaping hammers.

SprintPhoto_b4lraz.jpg
 
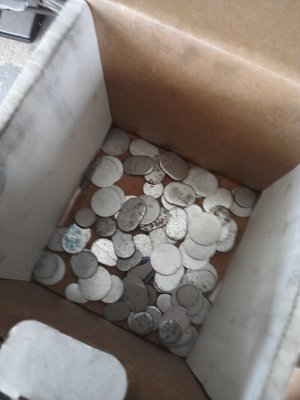
One of the great things about working in a tool and die shop I raided a few of the press beds for some ready made patches :D Hell we probably even made quite a few of the panels for this car.

SprintPhoto_bbkxgw.jpg


Some slight grinding and its a perfect fit


SprintPhoto_bclhiw.jpg


Here is where I stopped for the day got a lot of the patches done just have to finish welding and sanding it down. Ran out of time and have to leave for work. Trying to get a couple hours a day in.

SprintPhoto_b51pnv.jpg
 
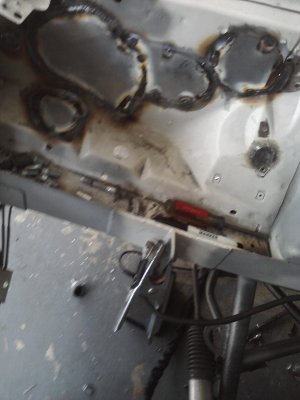
I got some of the Sanding done on all the welds.I can still smooth a few a bit better but I ran out of good disks plus my noisy compressor was giving me a headache. I think once I smooth it out a bit with filler it should look good. I have about 12 more small holes on that side and its done and I'm off to the firewall. I have to decide if im going to fill in all the holes for the windshield wipers.


SprintPhoto_bnpuid.jpg
 
Hard to believe I've had this car for 2 years now... It's come a long way but still sooo much work to do. VFN called my trunk lid is done and being shipped today.

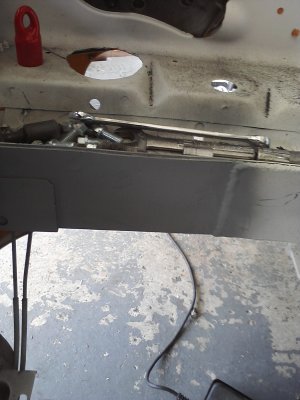
Filled more holes today! My neighbors must hate me with my loud ass craftsman air compressor really need to get a new one. I've been trying to grind one day weld another but I still need to run it to grind patches... Only about 5 or 6 more holes on this side. I'm not 100% sure what I'm going to do with the frame rails just yet I kind of like the little shelf there.

SprintPhoto_b5pr1y.jpg
 
Last edited:
Ok trans mount is finished.

I got the tabs welded to the frame rails.. Welding on your back upside down and being really green at welding isn't a fun task. I managed to get it done though and I think its pretty decent. I hit the tabs with a hammer fairly hard Didn't want to bend them but I had to make sure they wouldn't just fall off lol.

This weekend the engine comes out hopefully and I can start filling holes in the engine bay!.
View attachment 56437View attachment 56438View attachment 56439

Damn you're really getting after this thing, and nice looking welds for a newbi on a tig! One thing i see here. that trans mount with motor plates needs a for/aft support to keep the engine from moving back under hard acceleration. Maybe add a small bar to triangulate to the frame rail that meets just next to the flat tab of the trans mount on both sides. This will keep the engine from moving back and forth, and keep your water pump seal from deflecting and leaking. Unless you have some other bracing i don't see to cover this?
 
Last edited:
I never really took a good pic just one of when I painted it but TeamZ put in an engine limiter when they installed the motor plates. It goes on an angle from the frame rail right under where the front motor plate is to one of the engine mount holes.

SprintPhoto_bntsb3.jpg

Thanks on the compliments I've had no welding training just watching youtube videos and asking a few questions from people who weld. so pretty much self taught :)
 
Last edited:
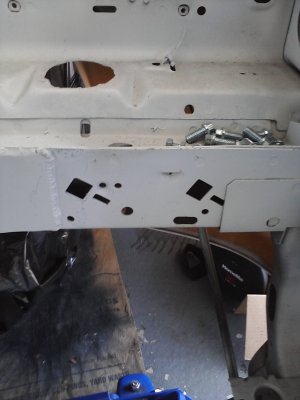
passenger side has all of the holes filled in and I started on the firewall today.

Pic of a few of the patches after I completed them. I have a few more done I don't think the firewall is going to take as long.

SprintPhoto_bhrmpx.jpg

Got one welded in and ran out of time. It isn't that easy welding in all these odd positions and angles I can see my beads getting better though. I'm not even really trying to make them look that nice because I'm grinding it all away anyways. I'm hoping to get back after it tomorrow.

SprintPhoto_bx5i51.jpg
 
I never really took a good pic just one of when I painted it but TeamZ put in an engine limiter when they installed the motor plates. It goes on an angle from the frame rail right under where the front motor plate is to one of the engine mount holes.

View attachment 56802

Thanks on the compliments I've had no welding training just watching youtube videos and asking a few questions from people who weld. so pretty much self taught :)

Figured you had to have one, but didn't see any mentoin of it. Had a buddy learn a hard lesson with motor plates.

WElds look good, but i bet it would have been easier with a mig....but ya got what ya got and looks like you're making it work well. a grinder and a thin coat of filler makes it all better!
 
yea I originally was going to buy a mig welder but i figured I could do a lot more with a tig and I'll just suffer with the pain in the ass stuff.

Yea if i can keep up this pace i should be final sanding and filling it next weekend depending on how much time I can get in next week. i think on the driver side all the messed up shapes i'm just going to cut square so I can make a square patch instead of a jagged round one. never done anything like this before so learning as I go ;)
 
Back
Top