My project z28

cucchiara3000

New member
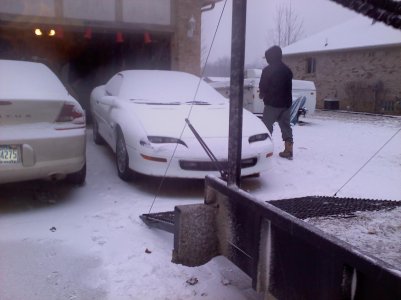
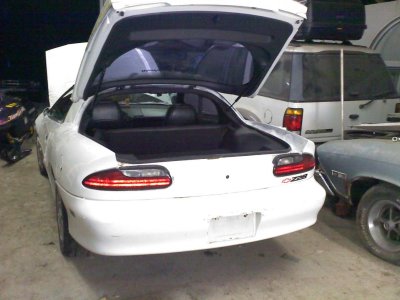
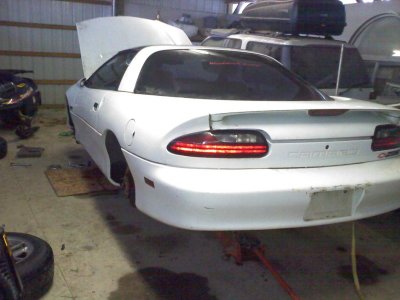
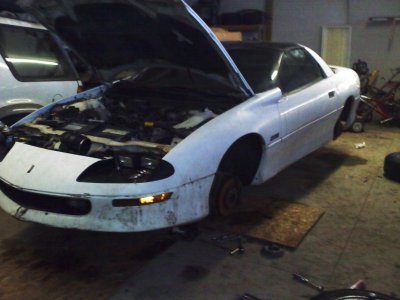
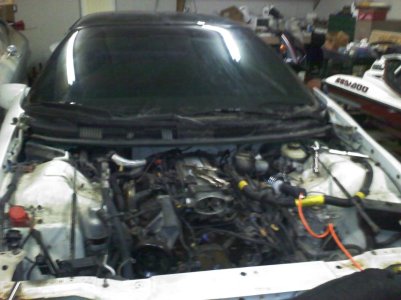
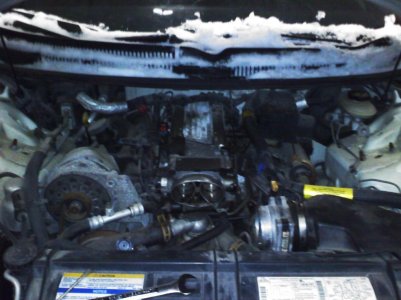
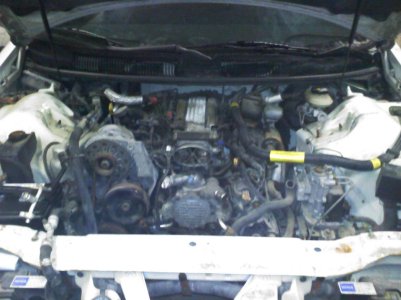
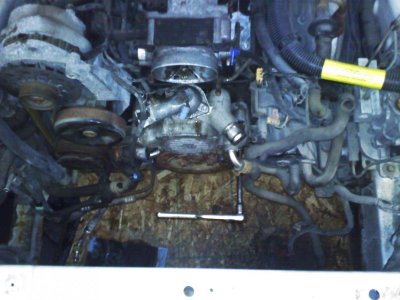
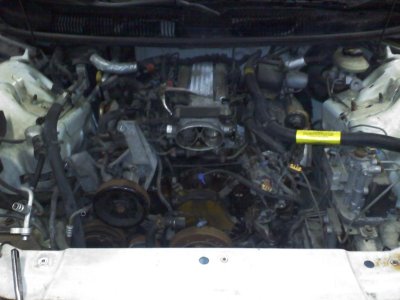
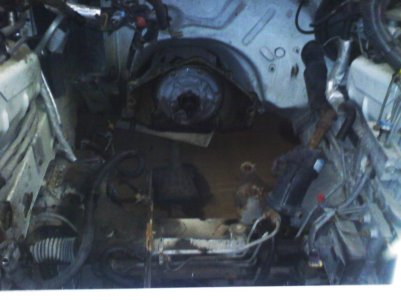
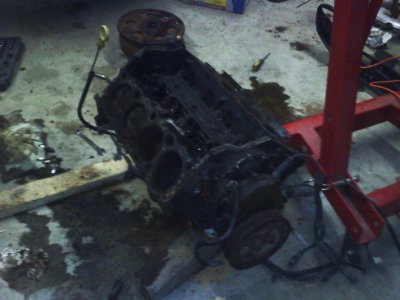
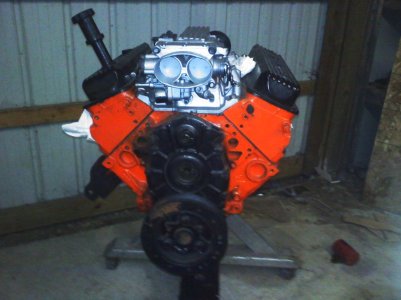
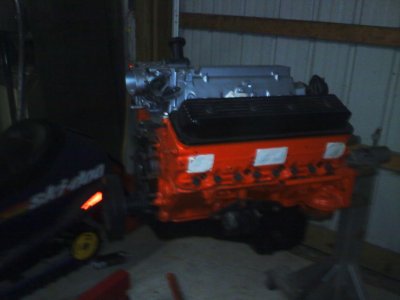
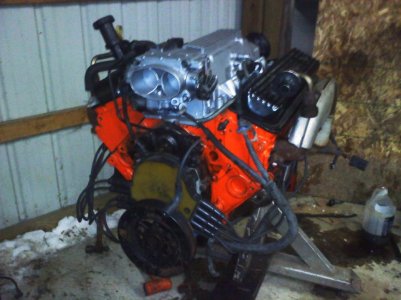
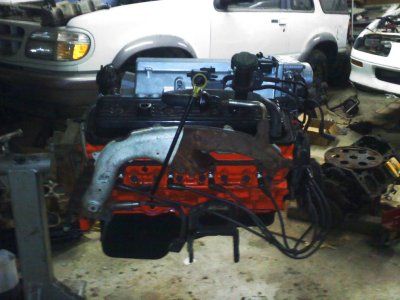
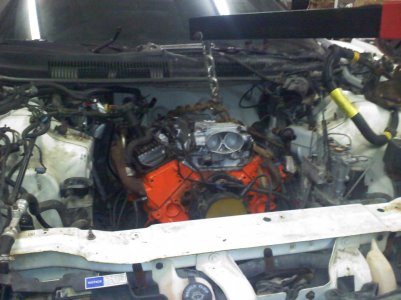
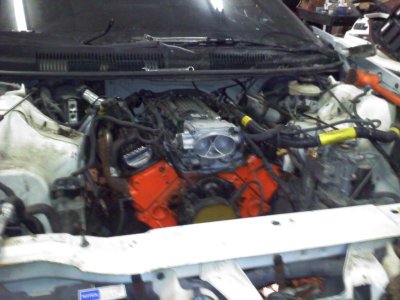
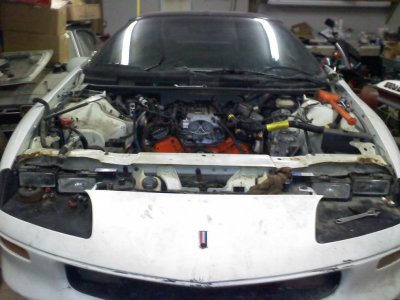
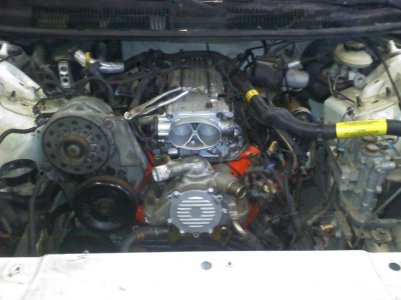
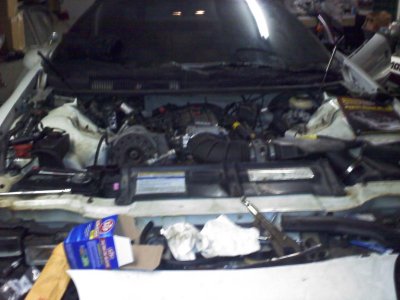
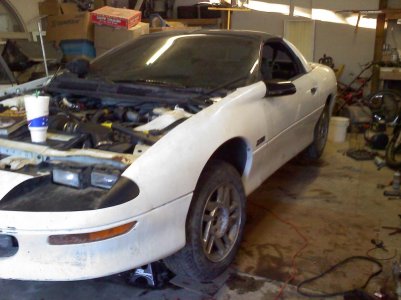
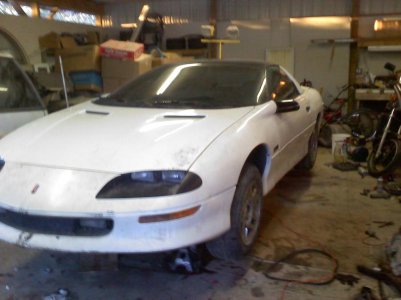
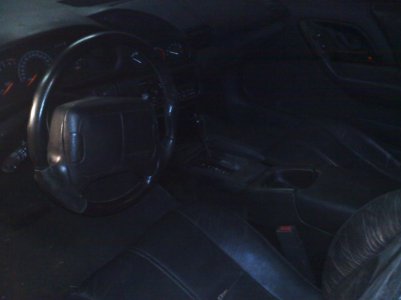
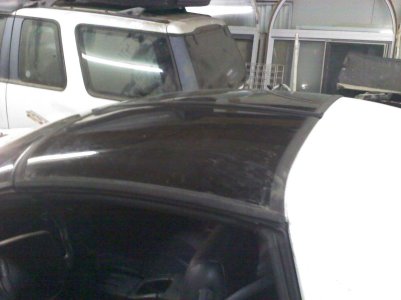
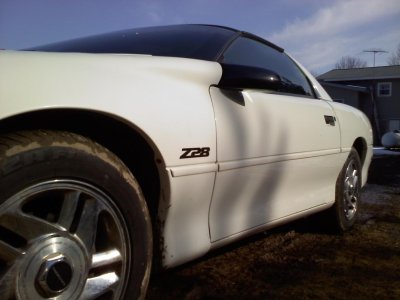
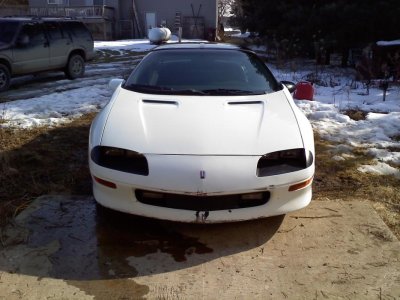
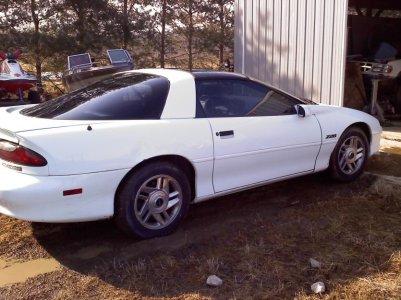
This is my build up of my newly aquired 1996 z28 camaro. I bought this car dirt cheap for $1350 with a blown head gasket. Although it ended up being more than just that....of course. I got this car last january. I probably should have started this thread back then, but better late than never. This build took a while, but working full time and being a full time college student doesn't help with time either. I'm finally done with this build as my DD officialy today.
 

Attachments

  • z28 3.jpg
    z28 3.jpg
    83.8 KB · Views: 97
  • z28 11.jpg
    z28 11.jpg
    91 KB · Views: 96
  • z28 9.jpg
    z28 9.jpg
    90.6 KB · Views: 95
  • z28 8.jpg
    z28 8.jpg
    87.6 KB · Views: 96
  • 0118002015.jpg
    0118002015.jpg
    86.8 KB · Views: 96
more pics. I kind of skipped out on taking pics of the engine being pulled. This engine had more than just a blown head gasket. The guy let it sit too long with and the engine seized up. So I pulled it.
 

Attachments

  • z28 7.jpg
    z28 7.jpg
    87.8 KB · Views: 95
  • z28 6.jpg
    z28 6.jpg
    87.9 KB · Views: 94
  • z28 5.jpg
    z28 5.jpg
    89.7 KB · Views: 94
  • z28 4.jpg
    z28 4.jpg
    84.5 KB · Views: 96
  • z28 15.jpg
    z28 15.jpg
    85.6 KB · Views: 94
So after I pulled the engine, I tore the engine down to see the extent of the damage. This engine needed more work than I wanted to do to it. So, I found a low miles lt1 from a 93 caprice. The only differences between these two engines were the heads, a sensor on the timing chain cover, and the possition of the engine temp sensor. The new engine doesn't have alluminum heads. So this car has 10 less hp, but its a stronger block. The other two differences were easy to change over.
 

Attachments

  • z28 14.jpg
    z28 14.jpg
    87.1 KB · Views: 94
  • z28 13.jpg
    z28 13.jpg
    89 KB · Views: 91
  • z28 12.jpg
    z28 12.jpg
    80.4 KB · Views: 92
  • z28 16.jpg
    z28 16.jpg
    90.4 KB · Views: 91
  • z28 18.jpg
    z28 18.jpg
    89.4 KB · Views: 92
Finally the time came to drop the engine in. Then bolting up all the stuff on it.
 

Attachments

  • 0220002049.jpg
    0220002049.jpg
    88.5 KB · Views: 92
  • 0221002258.jpg
    0221002258.jpg
    87.3 KB · Views: 92
  • 0221002259.jpg
    0221002259.jpg
    88.8 KB · Views: 92
  • almost done.jpg
    almost done.jpg
    86.4 KB · Views: 92
  • 0227002150.jpg
    0227002150.jpg
    86.7 KB · Views: 92
Finally done!!!!!
 

Attachments

  • 0305001738.jpg
    0305001738.jpg
    89 KB · Views: 88
  • 0305001805.jpg
    0305001805.jpg
    86.4 KB · Views: 89
  • 0118002017.jpg
    0118002017.jpg
    85 KB · Views: 90
  • 0118002020.jpg
    0118002020.jpg
    88.3 KB · Views: 89
  • 0118002018a.jpg
    0118002018a.jpg
    83.6 KB · Views: 87
Yeah this car is sweet. I'm really happy with it. thanks for the welcome too! More pics. I hope to have more mods for this project too, but in time.
 

Attachments

  • 0307001536b.jpg
    0307001536b.jpg
    78.6 KB · Views: 58
  • 0307001536a.jpg
    0307001536a.jpg
    93.5 KB · Views: 58
  • 0307001535.jpg
    0307001535.jpg
    97.8 KB · Views: 58
Back
Top