4.6 stroker in my Mach1

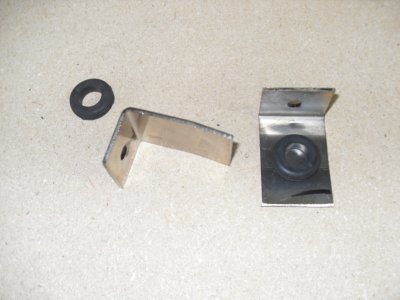
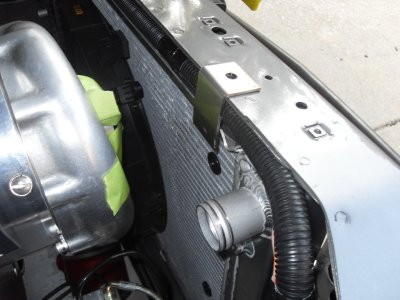
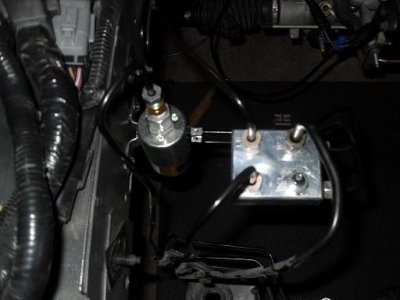
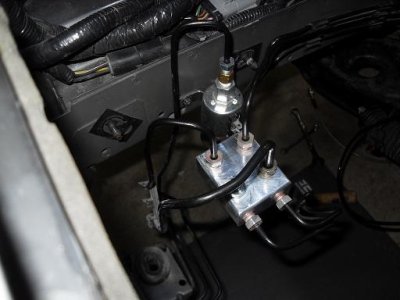
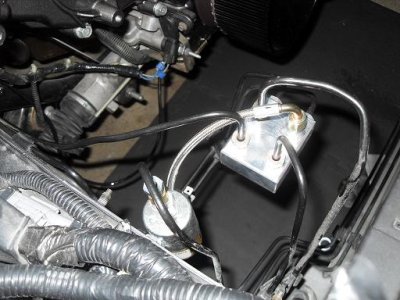
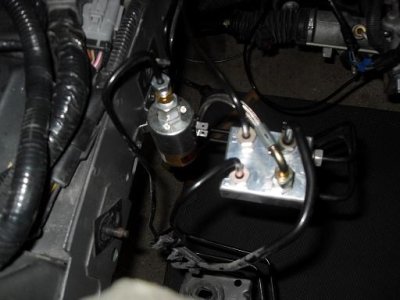
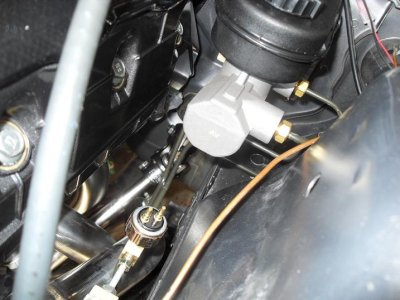
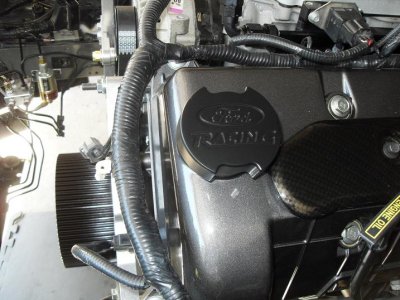
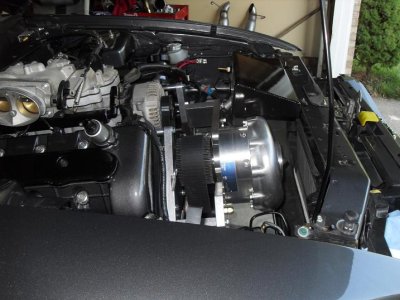
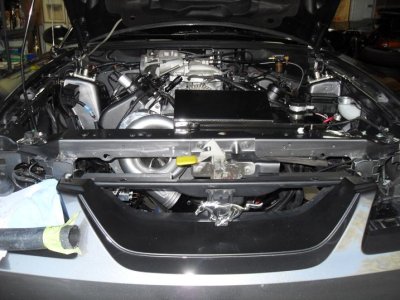
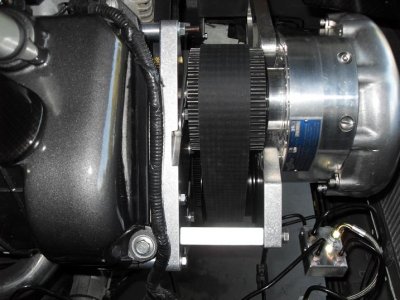
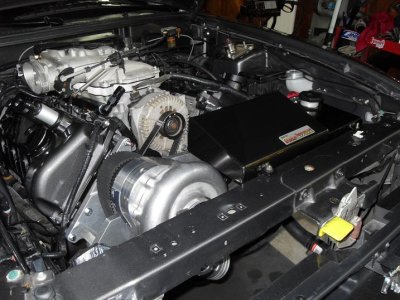
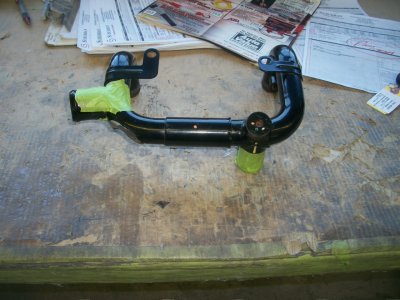
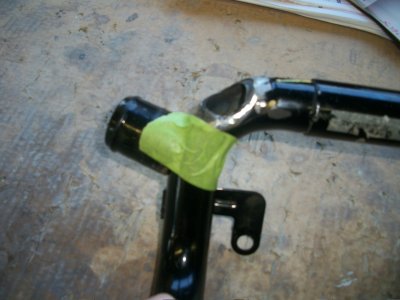
Worked on Line Lock today and had to get some extra fittings..still need one more NPT to an 90degree so I can connect my line from end of line lock to block. few pics
 

Attachments

  • SDC10451.JPG
    SDC10451.JPG
    54 KB · Views: 245
  • SDC10452.JPG
    SDC10452.JPG
    55.9 KB · Views: 245
  • SDC10453.JPG
    SDC10453.JPG
    71.2 KB · Views: 246
  • SDC10454.JPG
    SDC10454.JPG
    56.9 KB · Views: 248
OK...FINALLY finished my wilwood brake install...got the rotors indexed to .002" run-out. good enough for me! Dont mind the dirt...but thought I would throw up a few sneak pics..will try to finish my aerospace manual brake upgrade. Just picked up the correct fittings I needed.
 

Attachments

  • SDC10462.JPG
    SDC10462.JPG
    443.9 KB · Views: 220
  • SDC10455.JPG
    SDC10455.JPG
    465.4 KB · Views: 222
got the tensioner.....finally...measured for new serp belt. 46" and will go get that today. THEN tighten up the bracket..
 

Attachments

  • SDC10465.JPG
    SDC10465.JPG
    115.1 KB · Views: 199
more and more parts showing up...got the brake lines all fitted and used a 67 truck standard part Standard Part Number SLS-27 to solve my brake light issue due to new aerospace setup has no provisions for brake light sensor. (THANKS REIKO)

http://www.summitracing.com/parts/SMP-SLS27/

used a brake line tee and put it right in before the stock proportioning valve.
 
A FEW new pics...The main bracket is mounted but no pics of that yet...will take some more this weekend. belt length worked out to 45.5" gates belt. Also some pics of my manual brake Master with brake light switch inline...also I took a pic of my OIL cap I just painted in single stage flat
 

Attachments

  • SDC10472.JPG
    SDC10472.JPG
    110.1 KB · Views: 155
  • SDC10475.JPG
    SDC10475.JPG
    87.2 KB · Views: 154
  • SDC10476.JPG
    SDC10476.JPG
    103.1 KB · Views: 154
Last edited:
Dom, that thing looks great. I can't wait to hear it ripping up and down Jackson Rd. You've gotta take me for a spin once it's done
 
a few more pics...put the blower on with overflow tank to measure up what I will need for my custom radiator and fans. going to make one out of cardboard before I have one made. I didnt tighten up any bolts and just throw the cog belt on for fitment testing
 

Attachments

  • SDC10482.JPG
    SDC10482.JPG
    111.8 KB · Views: 201
  • SDC10477.JPG
    SDC10477.JPG
    94.2 KB · Views: 203
  • SDC10479.JPG
    SDC10479.JPG
    96.3 KB · Views: 202
  • SDC10480.JPG
    SDC10480.JPG
    90.7 KB · Views: 201
  • SDC10481.JPG
    SDC10481.JPG
    104.2 KB · Views: 202
hard lines for radiator at motor... copying encasedmetal and moving passenger side tube outlet further left. Will weld the hole shut today and remove center tube outlet and weld that shut also. I mocked up where I want my stuff..was originally going to go -an fitting but holy crap I would be over 200.00 just in upper radiator hose area and said...no.
 

Attachments

  • 100_9679.JPG
    100_9679.JPG
    345.9 KB · Views: 190
  • 100_9680.JPG
    100_9680.JPG
    339.1 KB · Views: 188
  • 100_9681.JPG
    100_9681.JPG
    353.7 KB · Views: 186
  • 100_9682.JPG
    100_9682.JPG
    285.4 KB · Views: 190
HARD lines for radiator upper welded..now just going to smooth out of few of the rough lines and get them painted. my welding skills are getting better.
:)
 

Attachments

  • IMAG0047.jpg
    IMAG0047.jpg
    101.9 KB · Views: 176
  • IMAG0048.jpg
    IMAG0048.jpg
    90.9 KB · Views: 174
got a lot done this weekend. hard lines for radiator installed. inline thermostat installed, radiator installed and blower tubing fitted and THEN taken off...need to cut one tube. (naturally)...
wiring for fuel pumps installed and just need to finish that up.
 

Attachments

  • SDC10506.jpg
    SDC10506.jpg
    90.1 KB · Views: 161
  • SDC10505.jpg
    SDC10505.jpg
    78.8 KB · Views: 162
  • SDC10507.jpg
    SDC10507.jpg
    82.1 KB · Views: 161
  • SDC10508.jpg
    SDC10508.jpg
    65.4 KB · Views: 165
fan was hitting lower blower tube so had to move radiator forward and do so needed to trim lower core support. DONE and now fits perfect. will seam seal and paint lower support this weekend
 

Attachments

  • IMAG0093.jpg
    IMAG0093.jpg
    99.2 KB · Views: 154
fans installed 2 pushers and 1 puller. will be using stock wiring to wire up with 75 relay in between fans. puller on lower side and two 11" pushers on high side. (switched to 11" because 10" ones were actually wider at motor by 1/4")

also making some upper radiator brackets and will drill upper support and add nut cert into core support upper so fits flush. will be adding the rubber grommets to lower portion of bracket by drilling 1/2" hole PLUS using 3m sealer to also hold in place. (the stuff holders...)
working on getting rest of front end together this weekend. Things are tight BUT everything fits. I think I have taken the radiator in and out of the car about 30 times now.
had to trim lower support and re-weld seam. repainted lower support and removed front bumper bar and added a chromoly front bar to free up needed room for intercooler.
 

Attachments

  • SDC10512.JPG
    SDC10512.JPG
    458.9 KB · Views: 139
  • SDC10514.JPG
    SDC10514.JPG
    465.7 KB · Views: 138
  • SDC10515.JPG
    SDC10515.JPG
    465.5 KB · Views: 138
  • SDC10516.JPG
    SDC10516.JPG
    461.5 KB · Views: 138
Looks awesome Dom. I've got something for you from Saso. Let me know and I'll drop it off after work if you want.
 
Back
Top